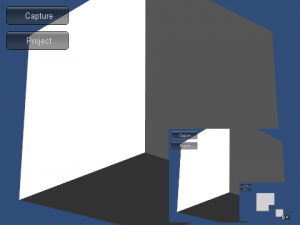
スクリーンショットを撮って、GUI Textureへ反映するサンプル。
画面左上には2つのボタン(Capture, Project)、画面右下にGUI Texture、画面中央にマウスで回転する立方体を配置。
スクリーンショットを撮った後、自動的にGUI Textureへ反映したかったが、スクリーンショットの完了(ローカルにPNGファイルを保存した)を検出する方法が分からなかった。保存時間を稼ぐために、キャプチャとテクスチャへの反映を2つのボタン(処理)に分けてあります。
|
1 2 3 4 5 6 7 8 9 10 11 12 13 14 15 16 17 18 19 20 21 22 23 24 25 26 27 28 29 30 31 32 33 |
using UnityEngine; using System.Collections; public class testCapture : MonoBehaviour { public GUITexture screen; // テクスチャを反映するGUI Texture void OnGUI() { if(GUI.Button(new Rect(10, 10, 100, 30), "Capture")) { capture(); } if(GUI.Button(new Rect(10, 50, 100, 30), "Project")) { StartCoroutine(project()); } } void capture() { Application.CaptureScreenshot(Application.dataPath + "/screenshot.png"); } IEnumerator project() { WWW www = new WWW("file:///" + Application.dataPath + "/screenshot.png"); yield return www; screen.texture = www.texture; } } |

コメントを残す
コメントを投稿するにはログインしてください。